
A new consulting firm called DIG3 handed me a logo, a one-paragraph description, and a list of services. No website. No content beyond that.
The brief: get something live, fast, professional, and easy to hand off later. I built the whole thing in one sitting on WordPress.com’s Personal plan, no upgrade needed.
Here’s exactly how that went.
What I started with
- Company name: DIG3
- Logo file, transparent PNG
- One-paragraph company description, including a phone number, a general email address, and a street address for the map
- A list of services
- Domain: dig3.com, already owned, registered with an outside registrar
- No existing WordPress.com site
That’s it. No copywriting, no brand guide, no existing photos.
Step 1: Create the site and choose a plan
Affiliate Disclosure: This article contains affiliate links. If you click through and purchase a WordPress.com plan, a commission is earned at no extra cost to you. The steps, observations, and recommendations in this guide are based on direct experience with the migration process and are not influenced by the affiliate relationship.
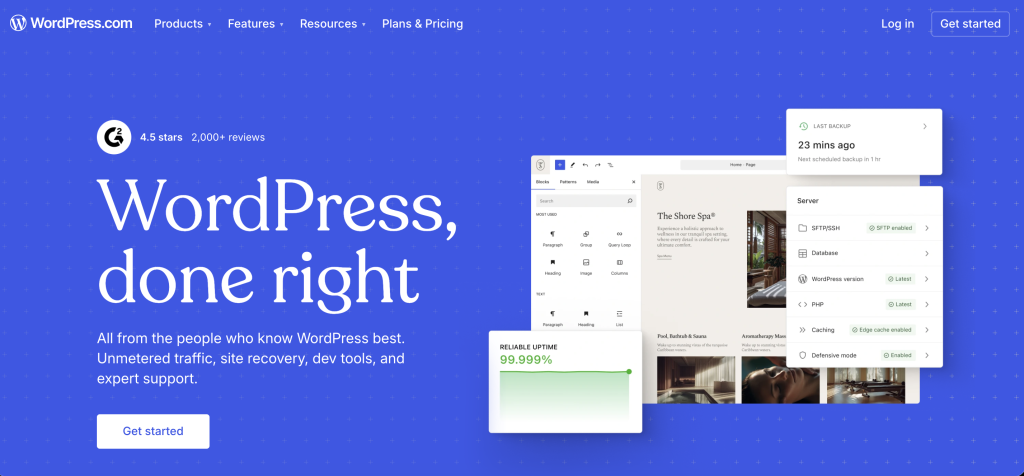
1- Go to wordpress.com and click “Get Strated”
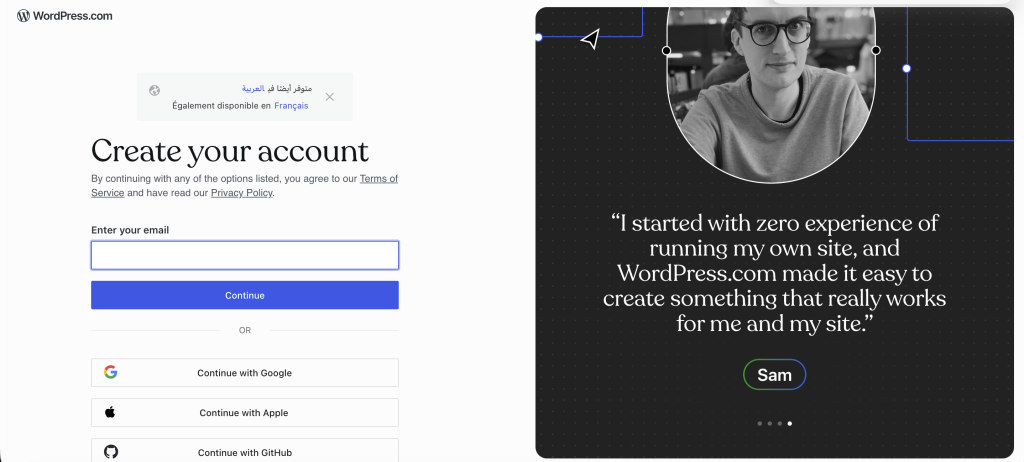
2- Create your account using your email and password or choose “Continue with Google”.
3- Once logged-in a new page will load with a search bar asking you to choose a domain. Fill it with your own domain or click “Already have a domain?” link at the bottom of the page if you already bought your domain like in this case.
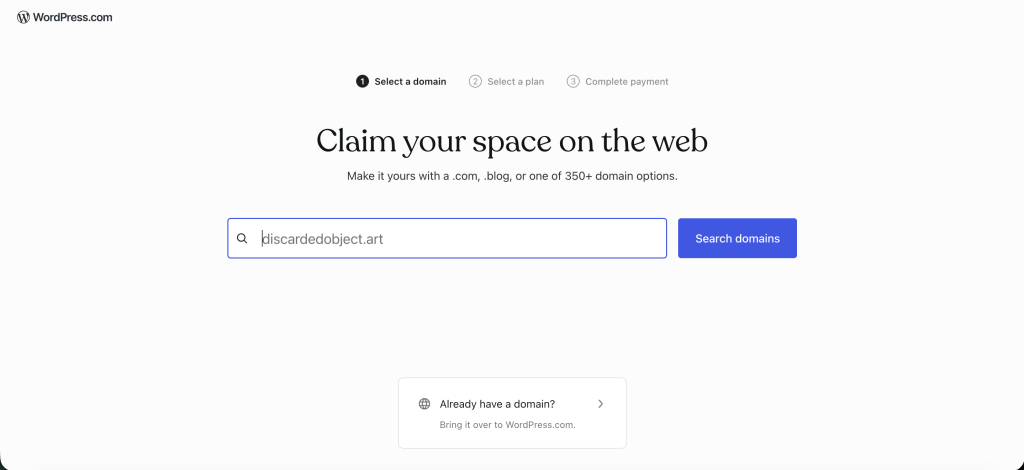
4- Enter your domain and click “Continue”
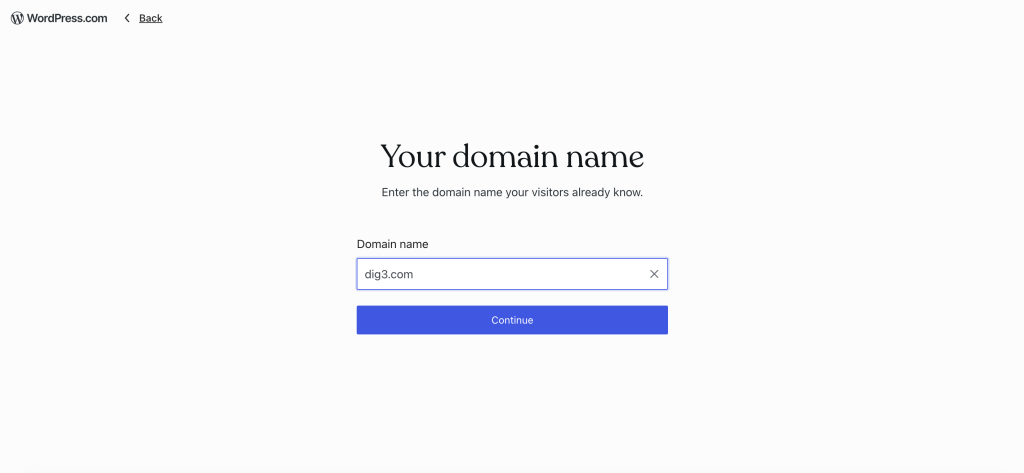
5- For this case, we will choose “Connect your domain name”
6- Pick the Personal plan: $9/month billed monthly, or $4/month billed annually
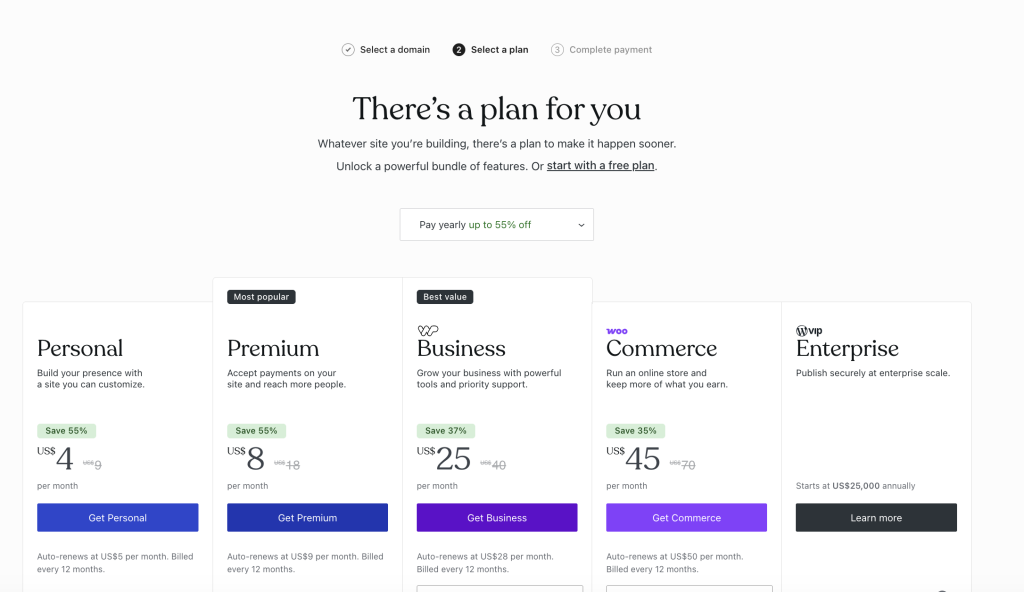
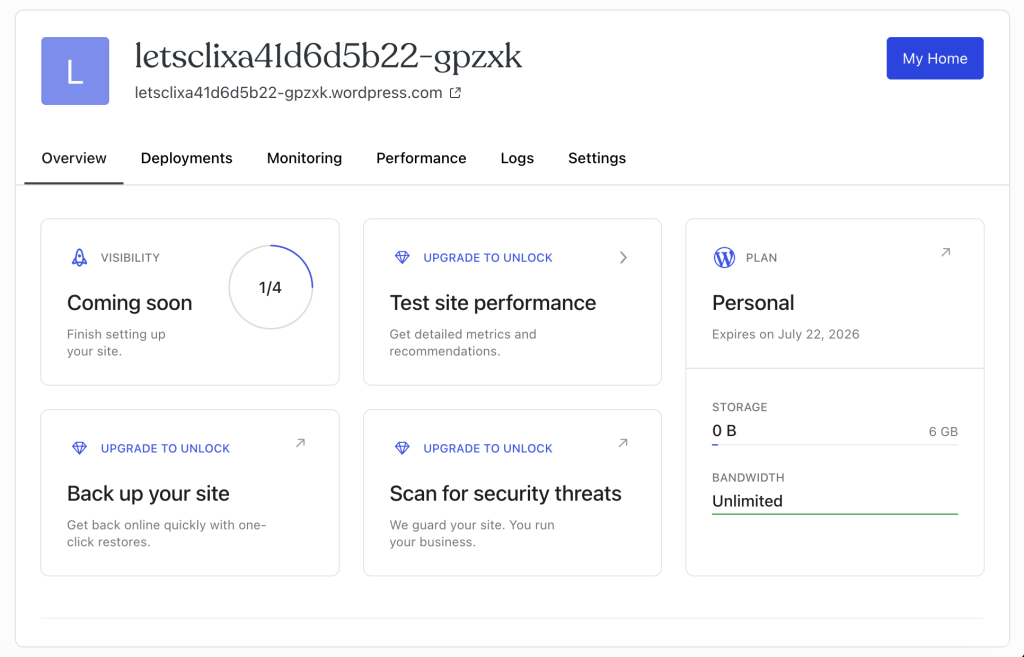
The Personal plan covers everything this build needed: custom domain connection and, since a 2025 platform update, plugin installation. No upgrade required.
7- Enter your information and proceed with the payment.
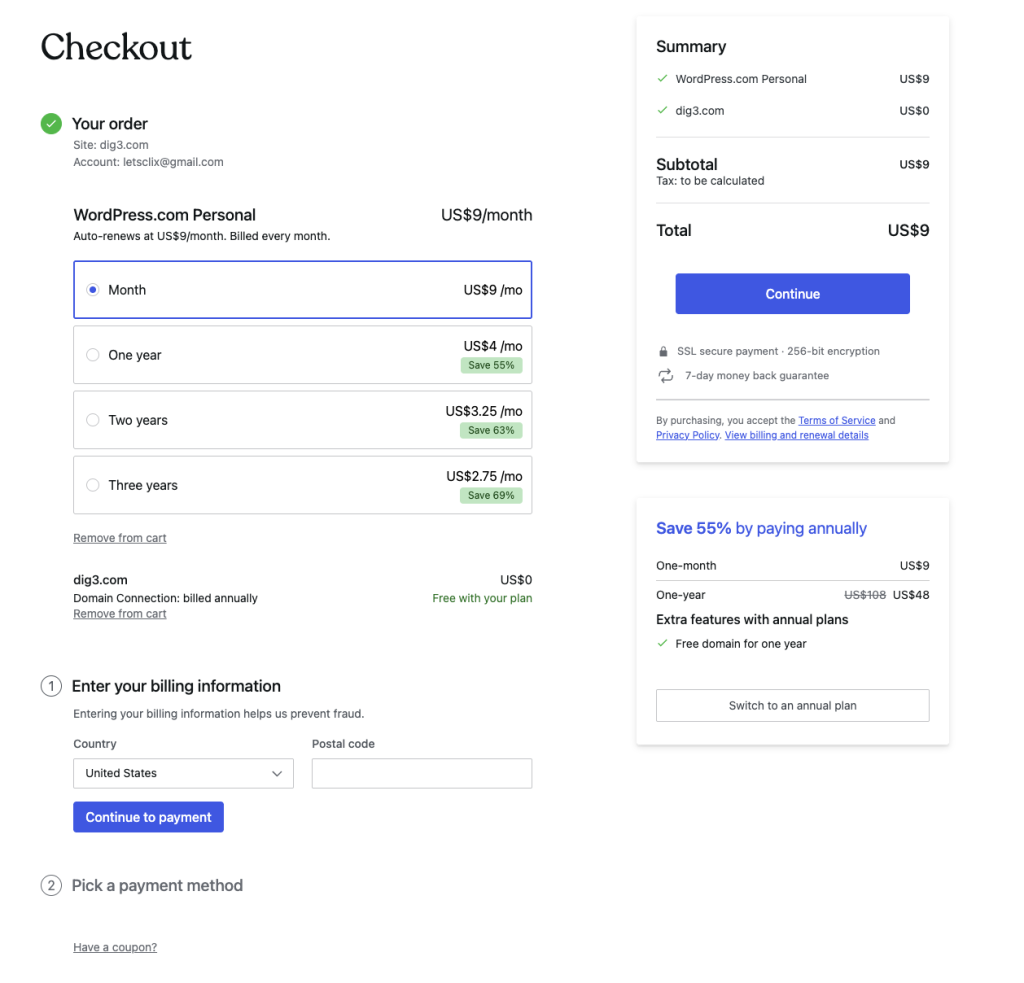
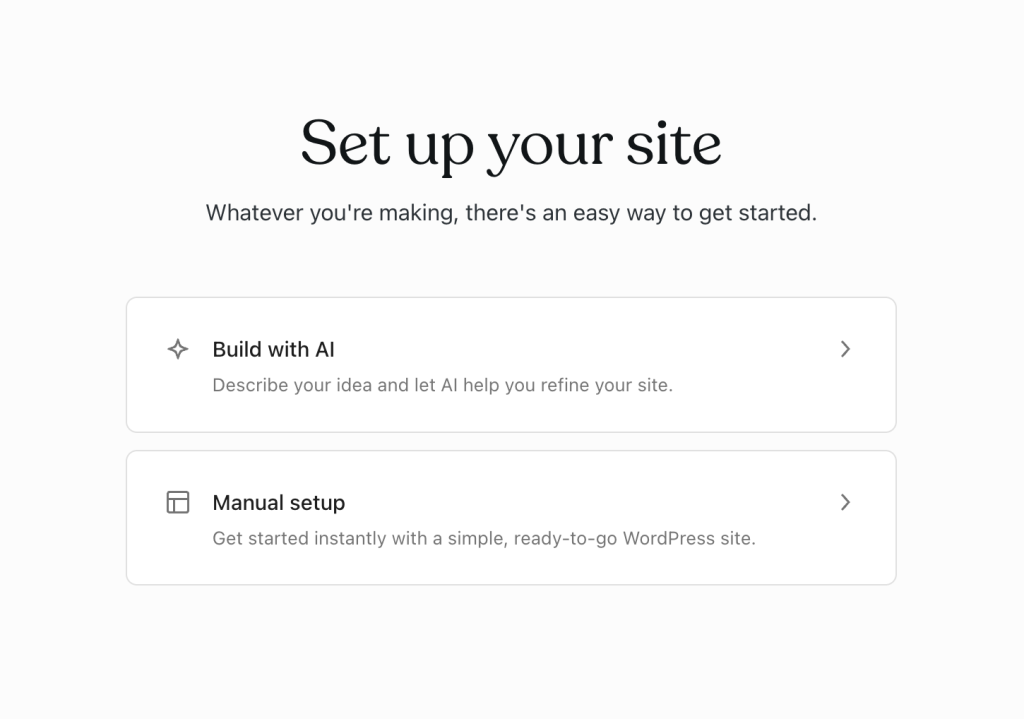
8- After successfull payment, choose “Manual setup“.
Step 2: Pick a theme built for business, not blogging
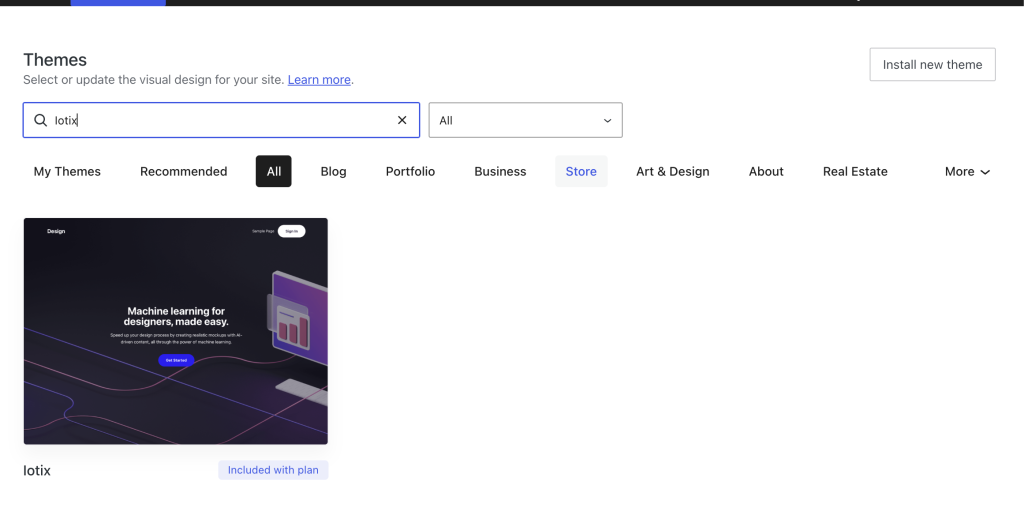
For this build, I skipped the default Twenty Twenty-X series and went with Iotix, a free theme by Automattic. Most of the free catalog leans toward blogs, portfolios, or personal sites. Iotix doesn’t.
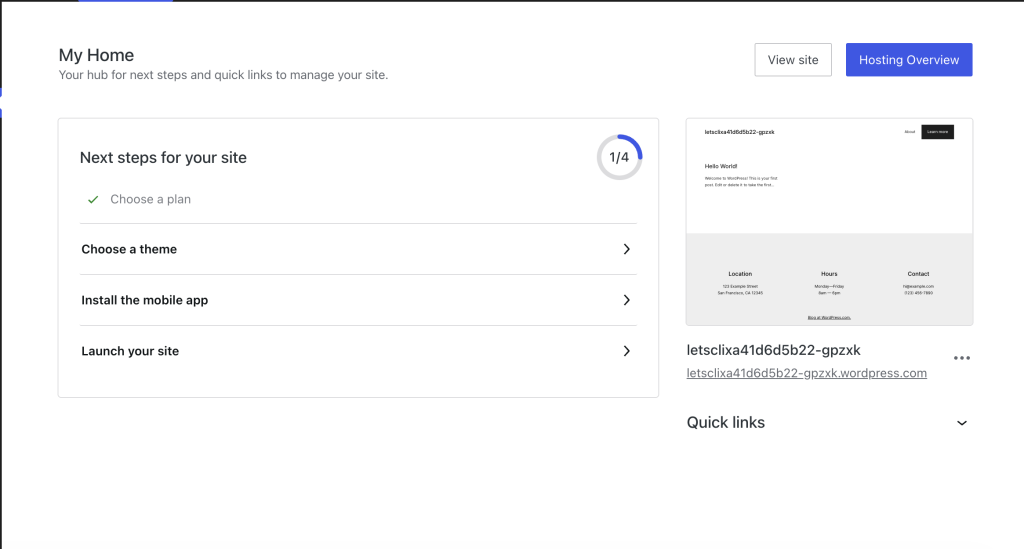
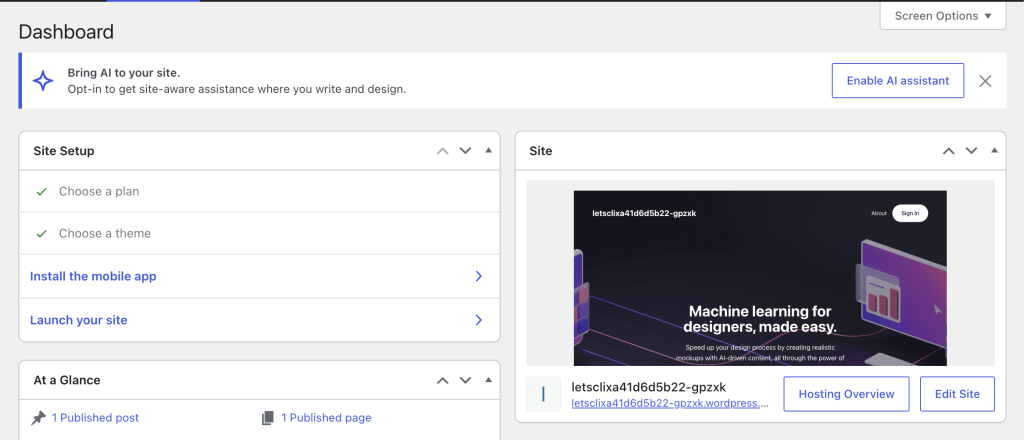
To choose a theme click on “My Home”.
You will redirected to the WordPress admin Dashboard where you should click on “Choose a theme”.
Search for Iotix and activate it.
It’s built around a business landing page, with patterns for a hero section, services, and pricing already in place. The block patterns already think in business terms, so there’s no need to reverse-engineer a blog layout into something that looks like a company site.
One real limitation worth naming: the demo leans tech-startup by default, with bright accents and SaaS-style imagery. For a consulting firm, I swapped every color and image to read as professional services instead. That’s a styling task, not a structural one. It added maybe ten minutes, not hours.
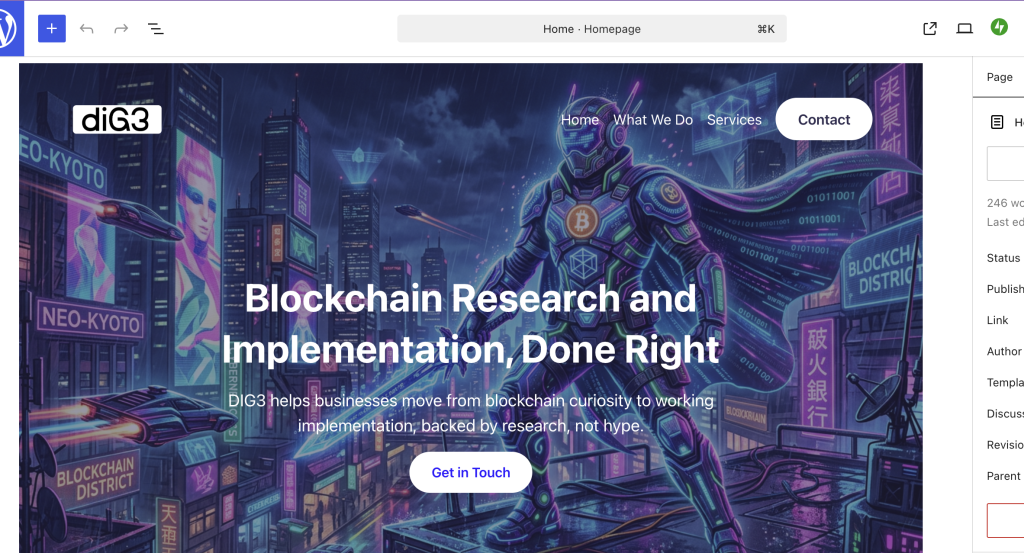
Step 3: Build the one-page structure
With Iotix active, I built the whole site as a single scroll in the block editor. No separate About, Services, or Contact pages. One URL, anchor-linked from the header. Most new small-business sites get used this way anyway. Visitors scroll instead of navigating between pages.
Here’s exactly how each section went in.
Hero section:
- On the new page, delete the default empty paragraph block the editor starts with
- Add a Cover block from the inserter
- Upload the background image when prompted, or pick one already in the media library
- In the block settings, set the overlay color to match the brand and bring the dim/overlay opacity to around 50 to 60 percent, enough that white text stays readable without hiding the image completely
- Inside the cover, add a Heading block for the main positioning statement, pulled straight from the company description
- Add a Paragraph block underneath for a one-line supporting sentence
- Add a Buttons block with a single button linking down to the contact section

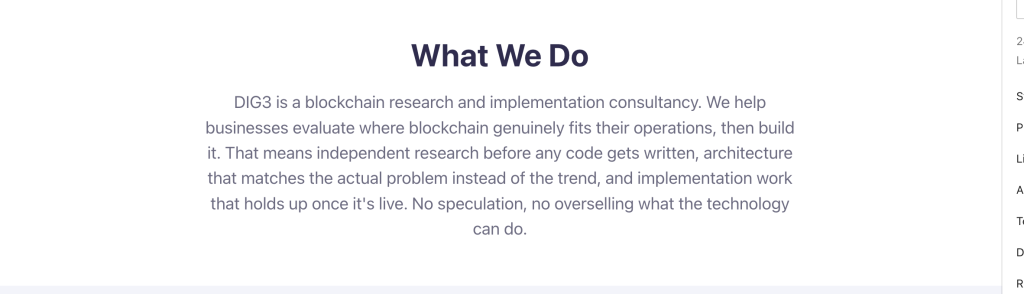
What we do section:
- Below the hero, add a Heading block, level 2, for the section title
- Add a Paragraph block underneath with a short company description, three to four sentences is enough
- Center-align both blocks from the toolbar so the section reads as a clean statement rather than a wall of text
Services section:
- Add a Group block to hold the whole section, and give it a background color from the block settings so it visually separates from the section above
- Inside the group, add a Heading block for “Services”
- Add a Columns block, three columns wide, for the first row of services
- In each column, stack a Heading block (level 3) for the service name and a Paragraph block underneath for the description
- Repeat with a second Columns block for the remaining services, since six services don’t fit cleanly in one row of three
I added a one-line icon-style marker above each service heading using a plain Paragraph block set to a larger font size. It’s a lightweight way to give each card a visual anchor without uploading a separate icon image for every service.

Contact section:
- Add another Group block for the contact section
- Add a Heading block and a short Paragraph block introducing the section
- Add a Columns block, two columns, to hold the form on one side and contact details plus the map on the other
For the contact form itself, I used the built-in Form block, which runs on Jetpack and comes with every WordPress.com plan, no separate plugin needed.
- In the first column, click the block inserter and search “form”
- Pick the Contact Form template
- The basic Name, Email, and Message fields are already there
- I added a Company field and a service dropdown so DIG3 can see at a glance what someone’s reaching out about
For the second column, with the email, phone, and map:
- Add a Paragraph block with the business email and phone number
- Below it, add a Custom HTML block
- Go to Google Maps, search the business address, click Share, then Embed a map
- Copy the iframe code Google provides
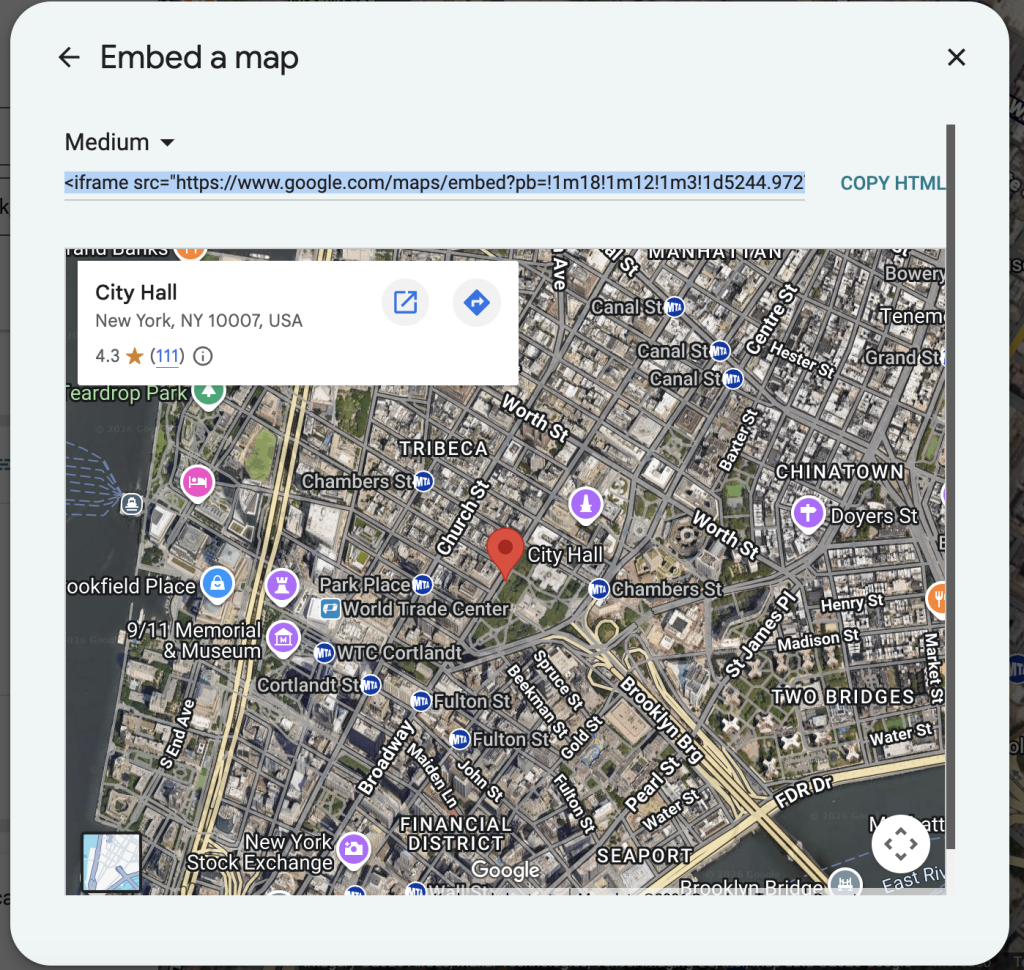
- Paste that code directly into the Custom HTML block
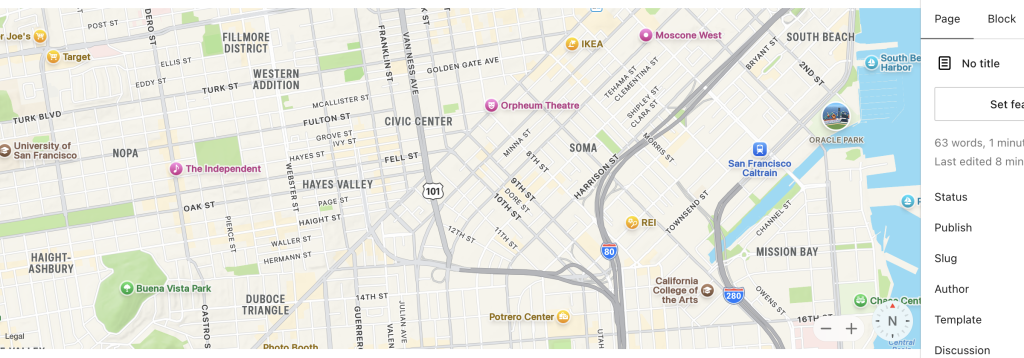
One block, loading fast, with nothing else to maintain. Otherwise you can use the Map block from the blocks list in your WordPress page/post editor, but I personally prefer the embeded version.
One thing worth flagging honestly: I used the WordPress.com’s built-in AI assistant to help draft some of the page copy and adjust a couple of form fields. It’s helped me a lot, because I have not enough info about the company, but in some cases it didn’t hold up. Few times it said it had made a change and nothing actually happened on the page. Other times it just stopped responding mid-request.
Step 4: Connect the existing domain
This is the step most tutorials rush past, so here’s the exact path.
We already added our domain in the first step while choosing the plan, so for this step we will only need to connect it:
From the website dashboard, go to Upgrades → Domains.
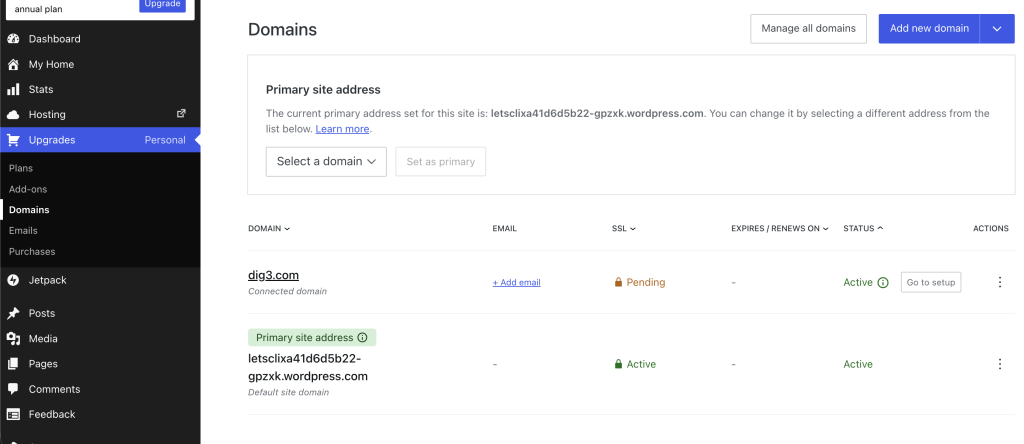
Once their, click the Go to setup button.
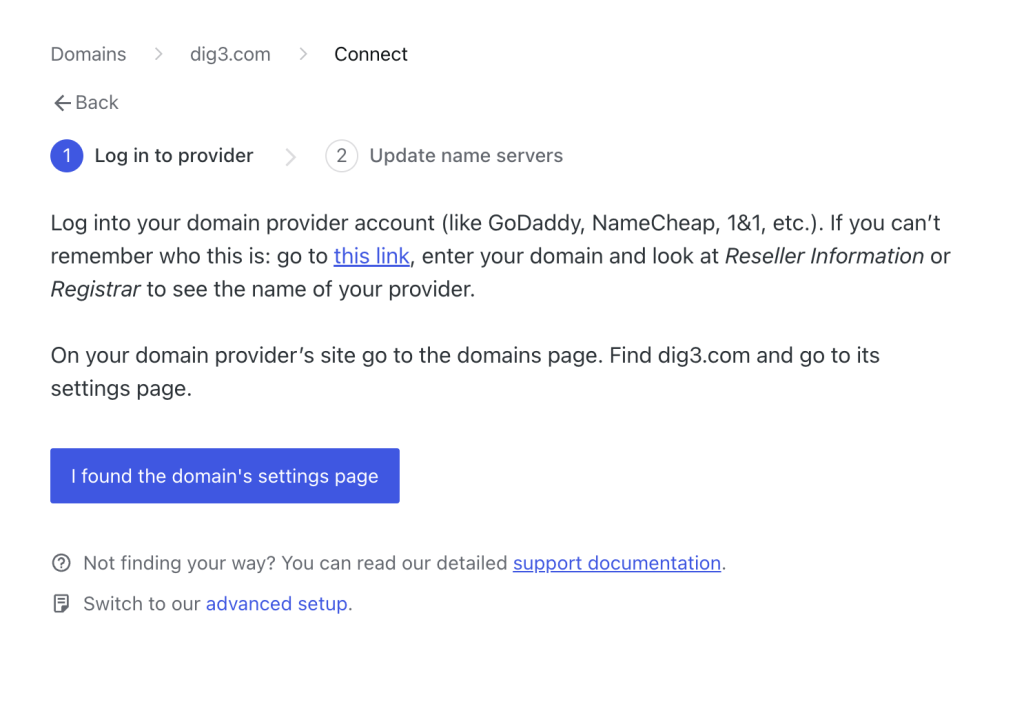
Click Start setup, then go to your domain registrar. For dig3.com connection, we will access Dynadot dashboard.
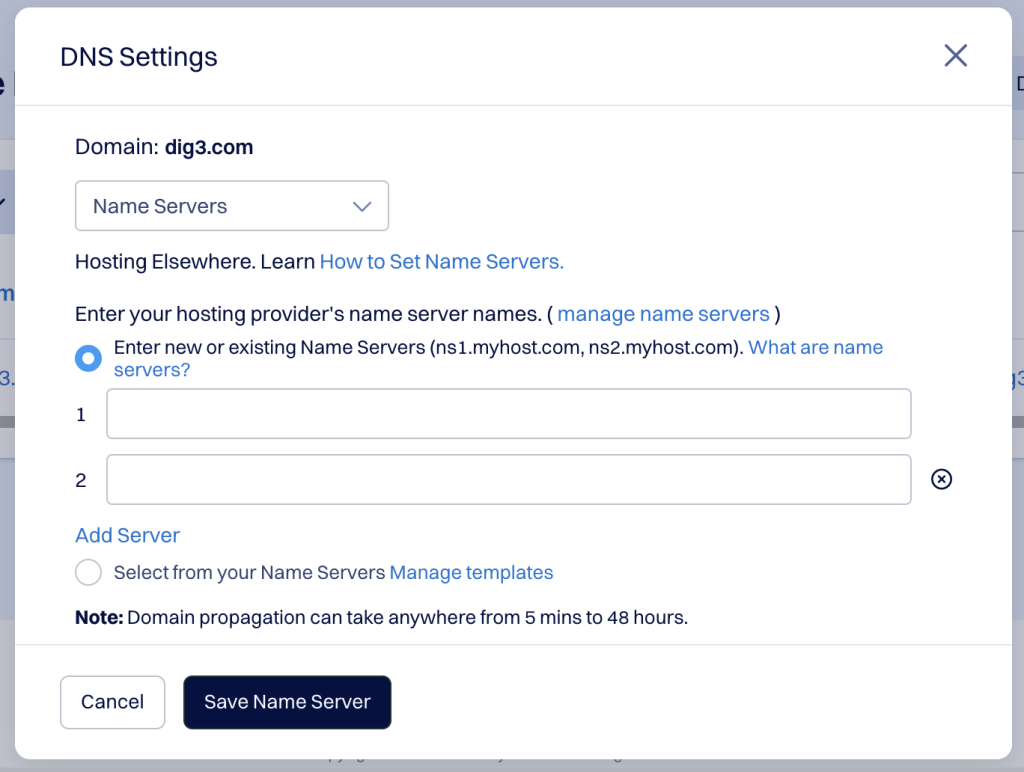
On your domain provider’s site go to the domains page. Find your domain and go to its DNS settings page.
Go back to the website dashboard and click I found the domain’s settings page.
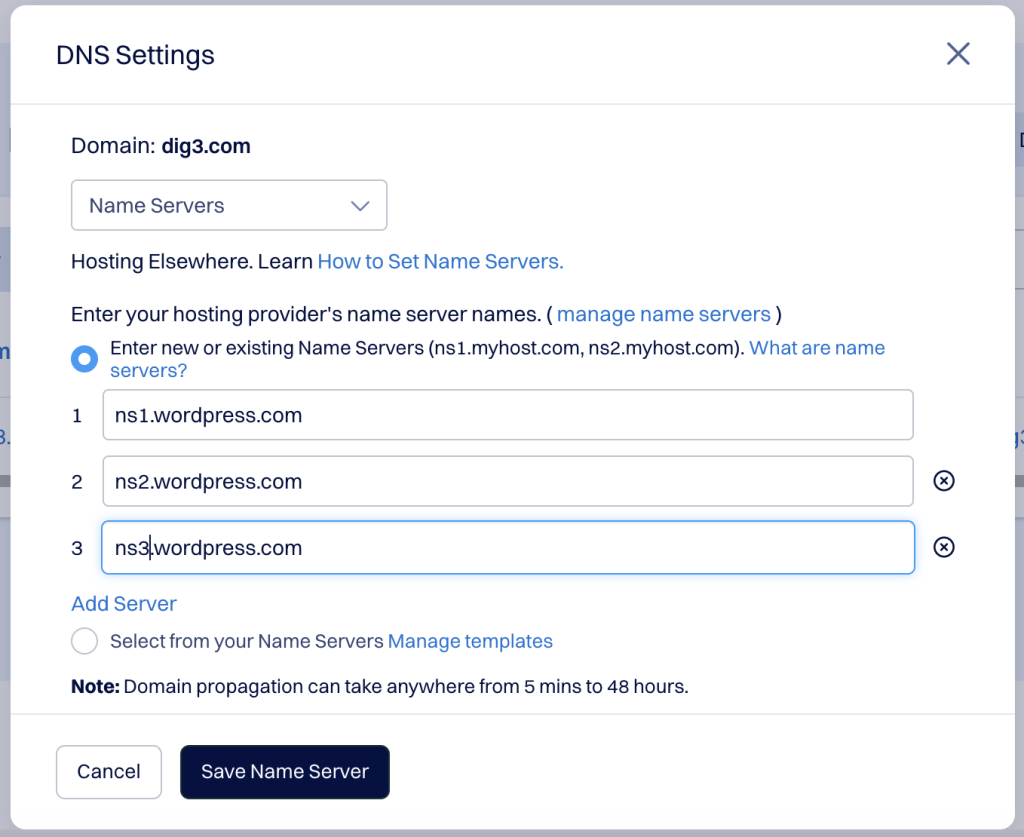
WordPress.com will provide you with all the name servers values that your need to add.

Go back one more time to your domain registrar and enter those values. Then click Save Name Server.
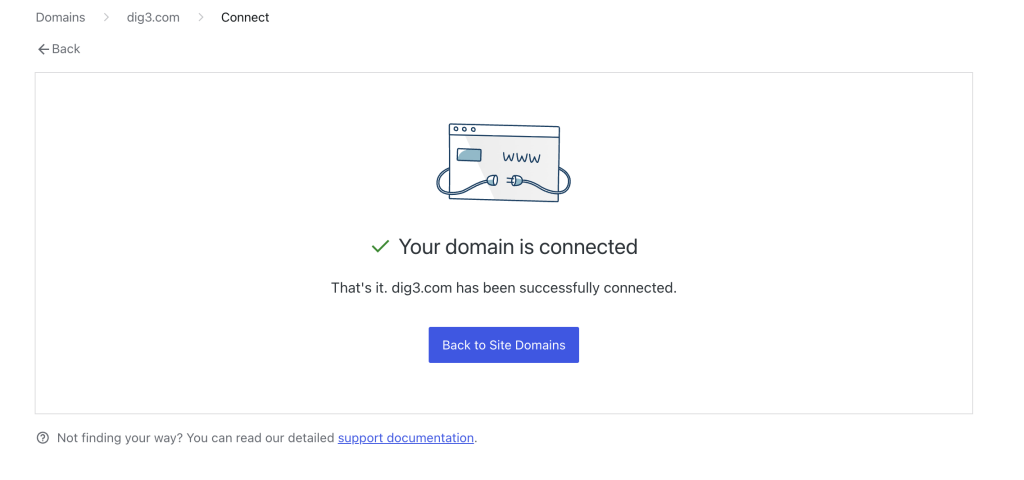
Once you’ve updated the name servers go back to your website dashboard and click on Verify Connection.
Now your your domain is connected. Wait for propagation which can take between 40 minutes to few hours, depending on your registrar.
One thing worth knowing: propagation doesn’t have to mean sitting around. The site still works on its temporary WordPress.com address while the domain finishes pointing over. The rest of the build, the page content, the WhatsApp button, the map, can all happen in that same window instead of waiting on it.
Step 5: Set up a professional email address
DIG3 was running on a personal Gmail address before this. Not a great look for a new consulting firm trying to seem established. Once the domain was connected, the fix was free email forwarding, built into WordPress.com. No separate inbox, no third-party service.
- From the dashboard, go to Upgrades → Emails
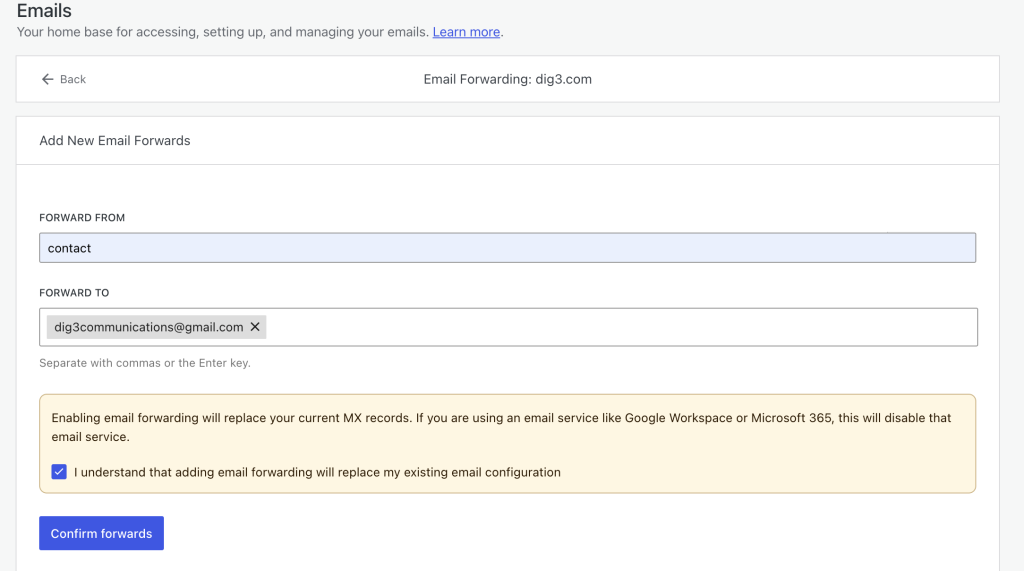
- Find dig3.com and click Start with Email Forwarding at the bottom of the page
- In the first field, enter the new address, for example “contact“
- In the second field, enter the destination inbox, the existing personal email you are already using and you already check
- Click Confirm forwards
- Open the destination inbox and click the activation link in the confirmation email
From that point, anything sent to contact@dig3.com (or contact@yourdomain.com for your setup) lands in the same inbox you already uses, just with a domain-matched address on the outside.
Personal and Premium plans get 25 forwards per domain. Plenty for a one-person or small-team firm to split sales@, contact@, and support@ if they want to.
One limitation worth flagging: forwarding only works on the root domain, not a subdomain, and it stops working the moment a fully hosted service like Professional Email or Google Workspace gets added to the same domain.
For a one-page consulting site that just needs a clean contact@ address, forwarding is enough. If DIG3 later needs a real inbox with its own login, that’s a paid upgrade, not part of this build.
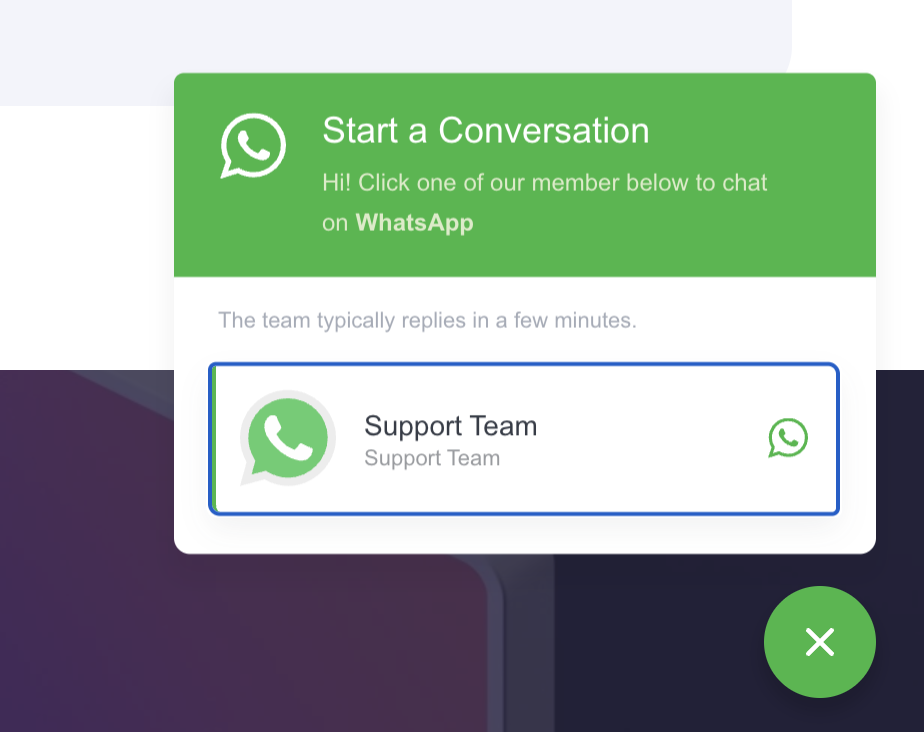
Step 6: Add WhatsApp chat
DIG3 wanted a direct line for prospective clients. No contact-form-and-wait-for-email loop.
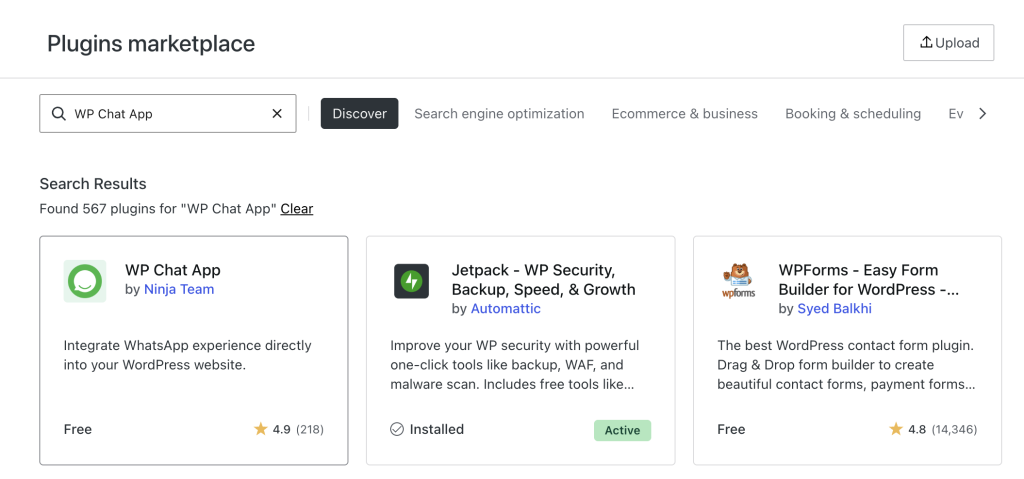
I installed the free version of WhatsApp Chat by Ninja Team straight from the WordPress.com plugin marketplace. A real plugin, not a block or an embed, and it only works because Personal now allows plugin installs.
- Go to Plugins → Add New
- Search “WP Chat App“
- Install and activate the free version from Ninja Team
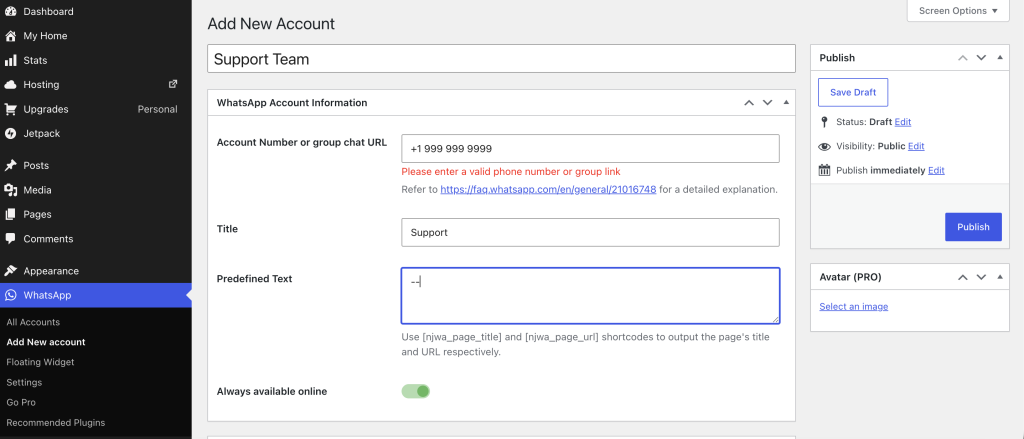
- Click WhatsApp → Add New Account to set the business WhatsApp number and a default greeting in the plugin settings.
- Click Publish
- Click WhatsApp → Floating Widget
- Choose the new account you just added or multiple ones depending on your configuration.
- The chat button shows up as a floating widget on the live site
What This Plan and Build Can’t Do
Take into considerations these limitations:
- No custom theme uploads on Personal. If DIG3 later wants a fully custom design outside WordPress.com’s theme library, that needs a higher plan or a move elsewhere.
- 6 GB storage cap. Fine for a one-page site with a logo and a few images. Not fine for a media-heavy blog or a big photo gallery down the line.
- DNS propagation takes real time. Build that into any timeline you are working with. It’s outside WordPress.com’s control.
Wrap up and Get the WebSite Live
Finishing The Domain Setup
Connecting a domain doesn’t automatically make it the address visitors see. Once the domain status shows Active and the SSL certificate is issued, go back to Upgrades → Domains and set dig3.com as the primary site address.
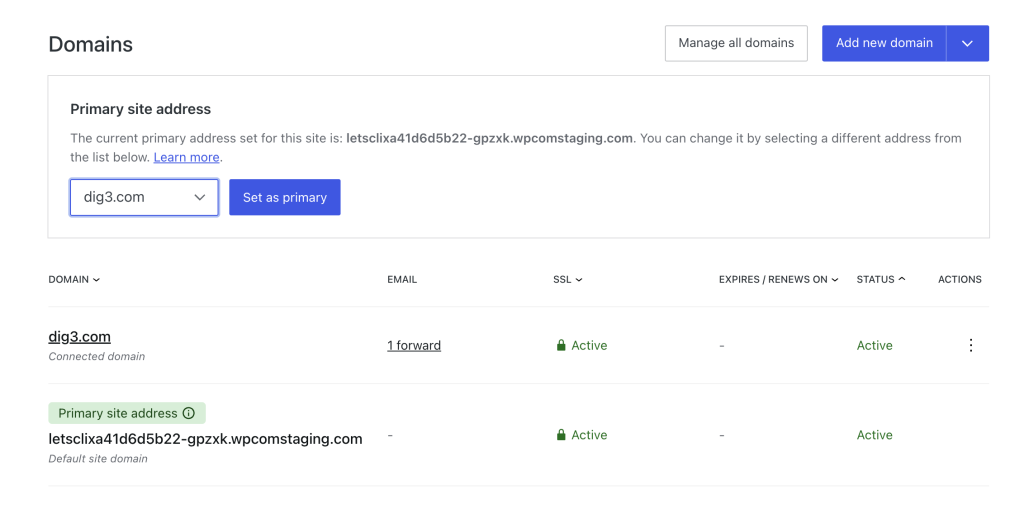
Skip that step and the site still shows its default/temp address in the browser bar, even with the domain fully connected underneath.
Set the Front Page
Go to Dashboard → Settings → Reading > set “Your homepage displays” to a static page > choose Home.
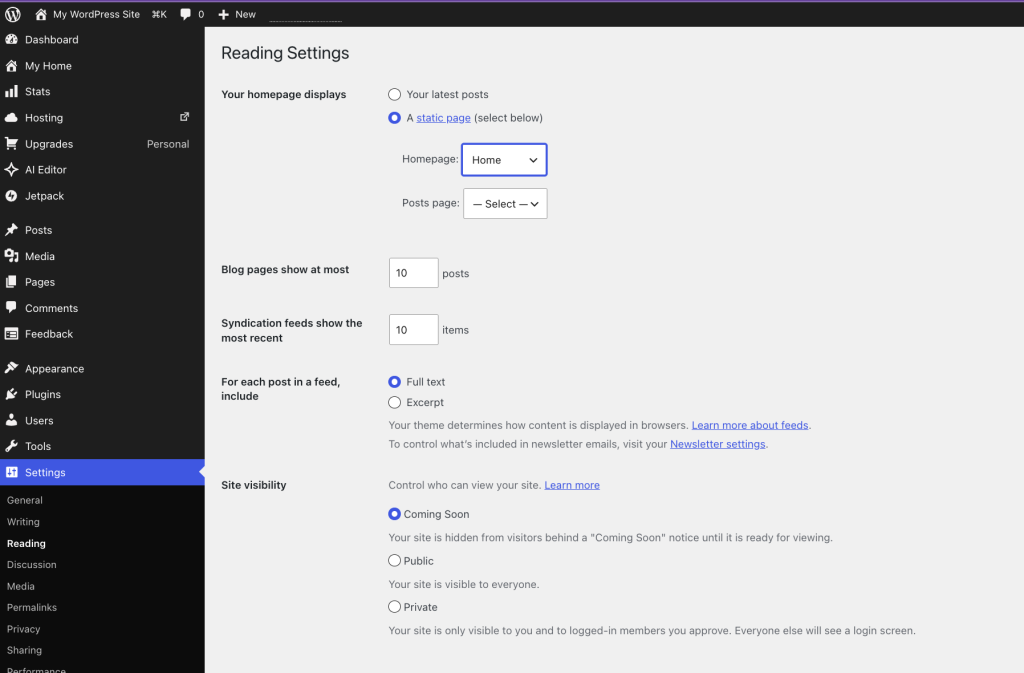
Also don’t forget to go the settings and change your blog title and tagline.
The WordPress.com Pricing Recap
| Plan | Monthly | Annual |
|---|---|---|
| Personal | $9/mo | $4/mo |
| Premium | $18/mo | $8/mo |
| Business | $40/mo | $25/mo |
| Commerce | $70/mo | $45/mo |
Personal is the right tier for a build like the one we are working on. One page, one connected domain, one free plugin, no store, no special requirements.
Get Your Own WebSite Today
DIG3 went from a logo and a services list to a live, working website in one sitting. No developer, no agency invoice, no weeks of back and forth. Just a plan, a theme that fits the job, and a handful of steps done in order.
If you’ve got a business sitting on a logo file and a domain you haven’t pointed anywhere yet, this is the fastest way to change that. Start your own WordPress.com site here and have something live before the day’s out.